Blog
Ultrasonic Inserts: Maintenance Checklist
How To Properly Care For Your Ultrasonic Inserts
Did you know a hygienist spends 2 hours per day on average power scaling? With so much usage and often a different insert for many procedures, you must regularly evaluate your inserts to ensure they continue functioning properly. Ultrasonic inserts combine the power, efficiency, and comfort you need to treat a wide range of patients, but they can also be delicate. Below is a checklist to help you properly use, care for, maintain and therefore extend the useful life of your Ultrasonic Inserts.
1) Check Tip Condition
Just like your hand scalers, ultrasonic insert tips wear with use. Worn insert tips can significantly diminish your scaling efficiency. One millimeter of tip loss results in a 25% loss of efficiency. Two millimeters? That’s a 50% loss of efficiency.
When an insert tip is worn, the “sweep” of the instrument is reduced. The insert tip doesn’t travel as far on its’ optimal path. When using a worn tip, generally more pressure is applied, or generator power is increased to compensate for the efficiency loss—often leading to patient discomfort and increasing the possibility of tip bending/breakage. When using a worn insert tip, the clinician will likely feel the need to increase the power setting on the generator to facilitate debris removal. However, scaling efficiency will not increase, and more heat will be generated, especially if the power setting exceeds the recommendation for the insert tip.
Using worn tips can result in inefficient scaling, inferior tip performance, handpiece overheating, and more discomfort for you and your patient. So, be sure to measure tip wear on a weekly basis and replace inserts as they wear and lose efficiency.
2) Evaluate Pressure Applied
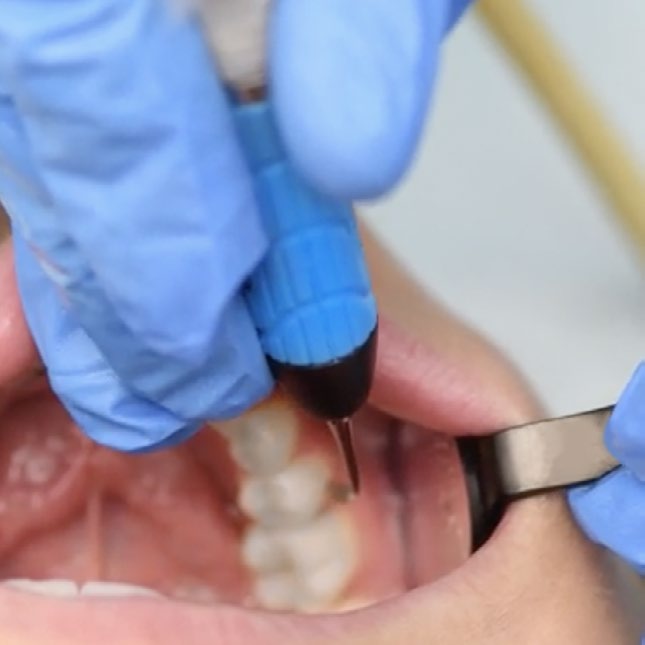
When it comes to the amount of pressure one should use when ultrasonic scaling, light pressure is all you need to allow the tip of the insert to vibrate efficiently, this results in fracture or removal of deposits. Applying more pressure dampens the tip vibration, leading to poor deposit removal, operator hand fatigue, and patient discomfort. Ultrasonic inserts are designed to work with a light grasp and light lateral pressure – let the insert do the work for you.
3) Double Check Power Settings
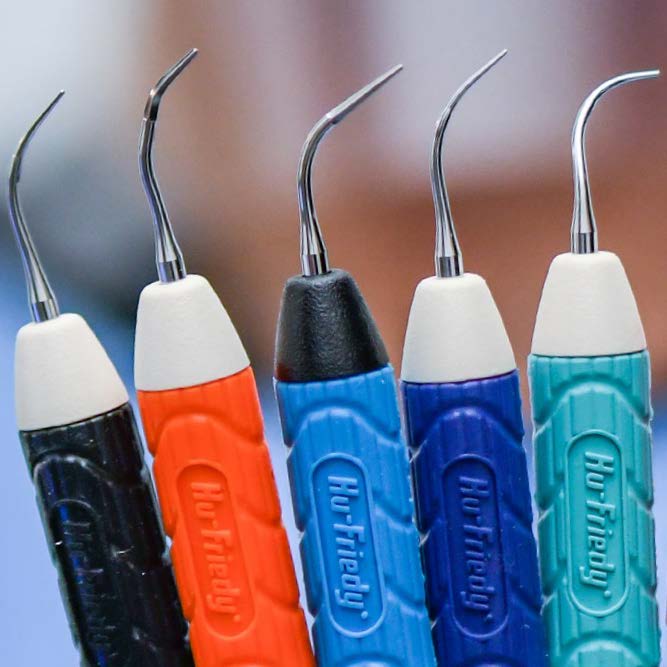
Each ultrasonic insert has a recommended power range for optimal performance. Robust tips, such as the HuFriedyGroup #10, #1000, and Beavertail inserts, are intended to remove heavy debris and can be used on higher power settings. It is recommended that thinner tips, designed for effective deposit removal, be used on low to medium power. Thin inserts with water flow to the tip have narrower water flow channels. If used on high power, the water flow rate may not be enough to cool the insert tip—resulting in handpiece overheating. Use the lowest effective power settings for each insert for maximum scaling and patient comfort. It is highly recommended to adhere to the power ranges specified on the insert packaging for optimal effectiveness.
4) Match Insert Type to Clinical Application
Ultrasonic inserts are designed for specific applications since complex oral anatomy, and debris type/location prohibit an effective “universal” insert. Robust inserts are for moderate to heavy/tenacious deposits and stains in supragingival and accessible subgingival areas. Thin inserts allow enhanced access to narrow subgingival areas, tight pockets, interproximal concavities, and other difficult-to-access areas. Using thin inserts as “universal” inserts—particularly on moderate/heavy supragingival deposits—can result in excessive tip wear, inefficient deposit removal, and tip bending/breakage. Much like using the correct power setting, matching the right insert to each clinical application is vital. And remember, more than one type of insert may be needed for each clinical procedure.
5) Don’t Compromise Instrument Shape
Bending or reshaping insert tips is not recommended. Aside from voiding the warranty, reshaping the tip can result in poor tip performance and make the tip susceptible to breakage. Insert tips are designed with precise bends to optimize the elliptical vibration path—bending the tips disrupts this vibration pattern, rendering the tip inefficient at debris removal.
6) Proper Sterilization and Maintenance
Sterilizing inserts in a cassette will protect them and extend their useful life. If your office uses sterilization pouches instead, always use caution when placing the insert in the ultrasonic bath or autoclave, as heavier instruments placed on top can cause bending/breakage of the tip and/or stack. Cassettes provide the best long-term protection for your ultrasonic inserts. For a thorough step-by-step process, click here.
7) Prevent Overheating
Sometimes your handpiece can begin to feel warm. You may want to believe that it may cool down on its own, but sometimes it doesn’t. You may reach the point where you need to put it down to either change the ultrasonic insert or switch to hand instrumentation. Overheating can happen, and in addition to a couple of points mentioned earlier, there is more you can do to prevent such occurrences.
You may experience overheating due to air bubbles trapped in the handpiece. Trapped air can prevent water from contacting the vibrating stack—resulting in heat build-up. The entire insert stack must be completely submerged in water to operate efficiently. To eliminate/minimize trapped air, be sure the handpiece is filled to the top with water and held vertically when placing the insert. To further prevent trapped air, it is advisable to run water through the handpiece for at least 2 minutes at the start of each day and for 45 seconds each time you seat an insert into the handpiece.
Another reason for overheating may be that your waterline filter is clogged. Check the waterline that extends from the generator to the wall connection or the operatory unit. This waterline typically has a filter that should be monitored and changed routinely. A clogged filter will disrupt the water flow through the generator and result in less flow to the insert tip. Regularly changing the filter is an inexpensive, quick maintenance procedure that can help ensure unobstructed water flow.
Your practice makes an investment in its ultrasonic inserts. Any investment needs to be kept up to continue producing an ROI. If properly used and shown the proper care, your ultrasonic inserts will help keep you the Best in Practice no matter the patient or procedure.
For more helpful information, insights and resources for Ultrasonic Inserts, click here.